Blog Layout

How Long Does It Take For Drywall Mud To Dry?

Sep 27, 2023

How Long Does Drywall Mud Take to Dry?
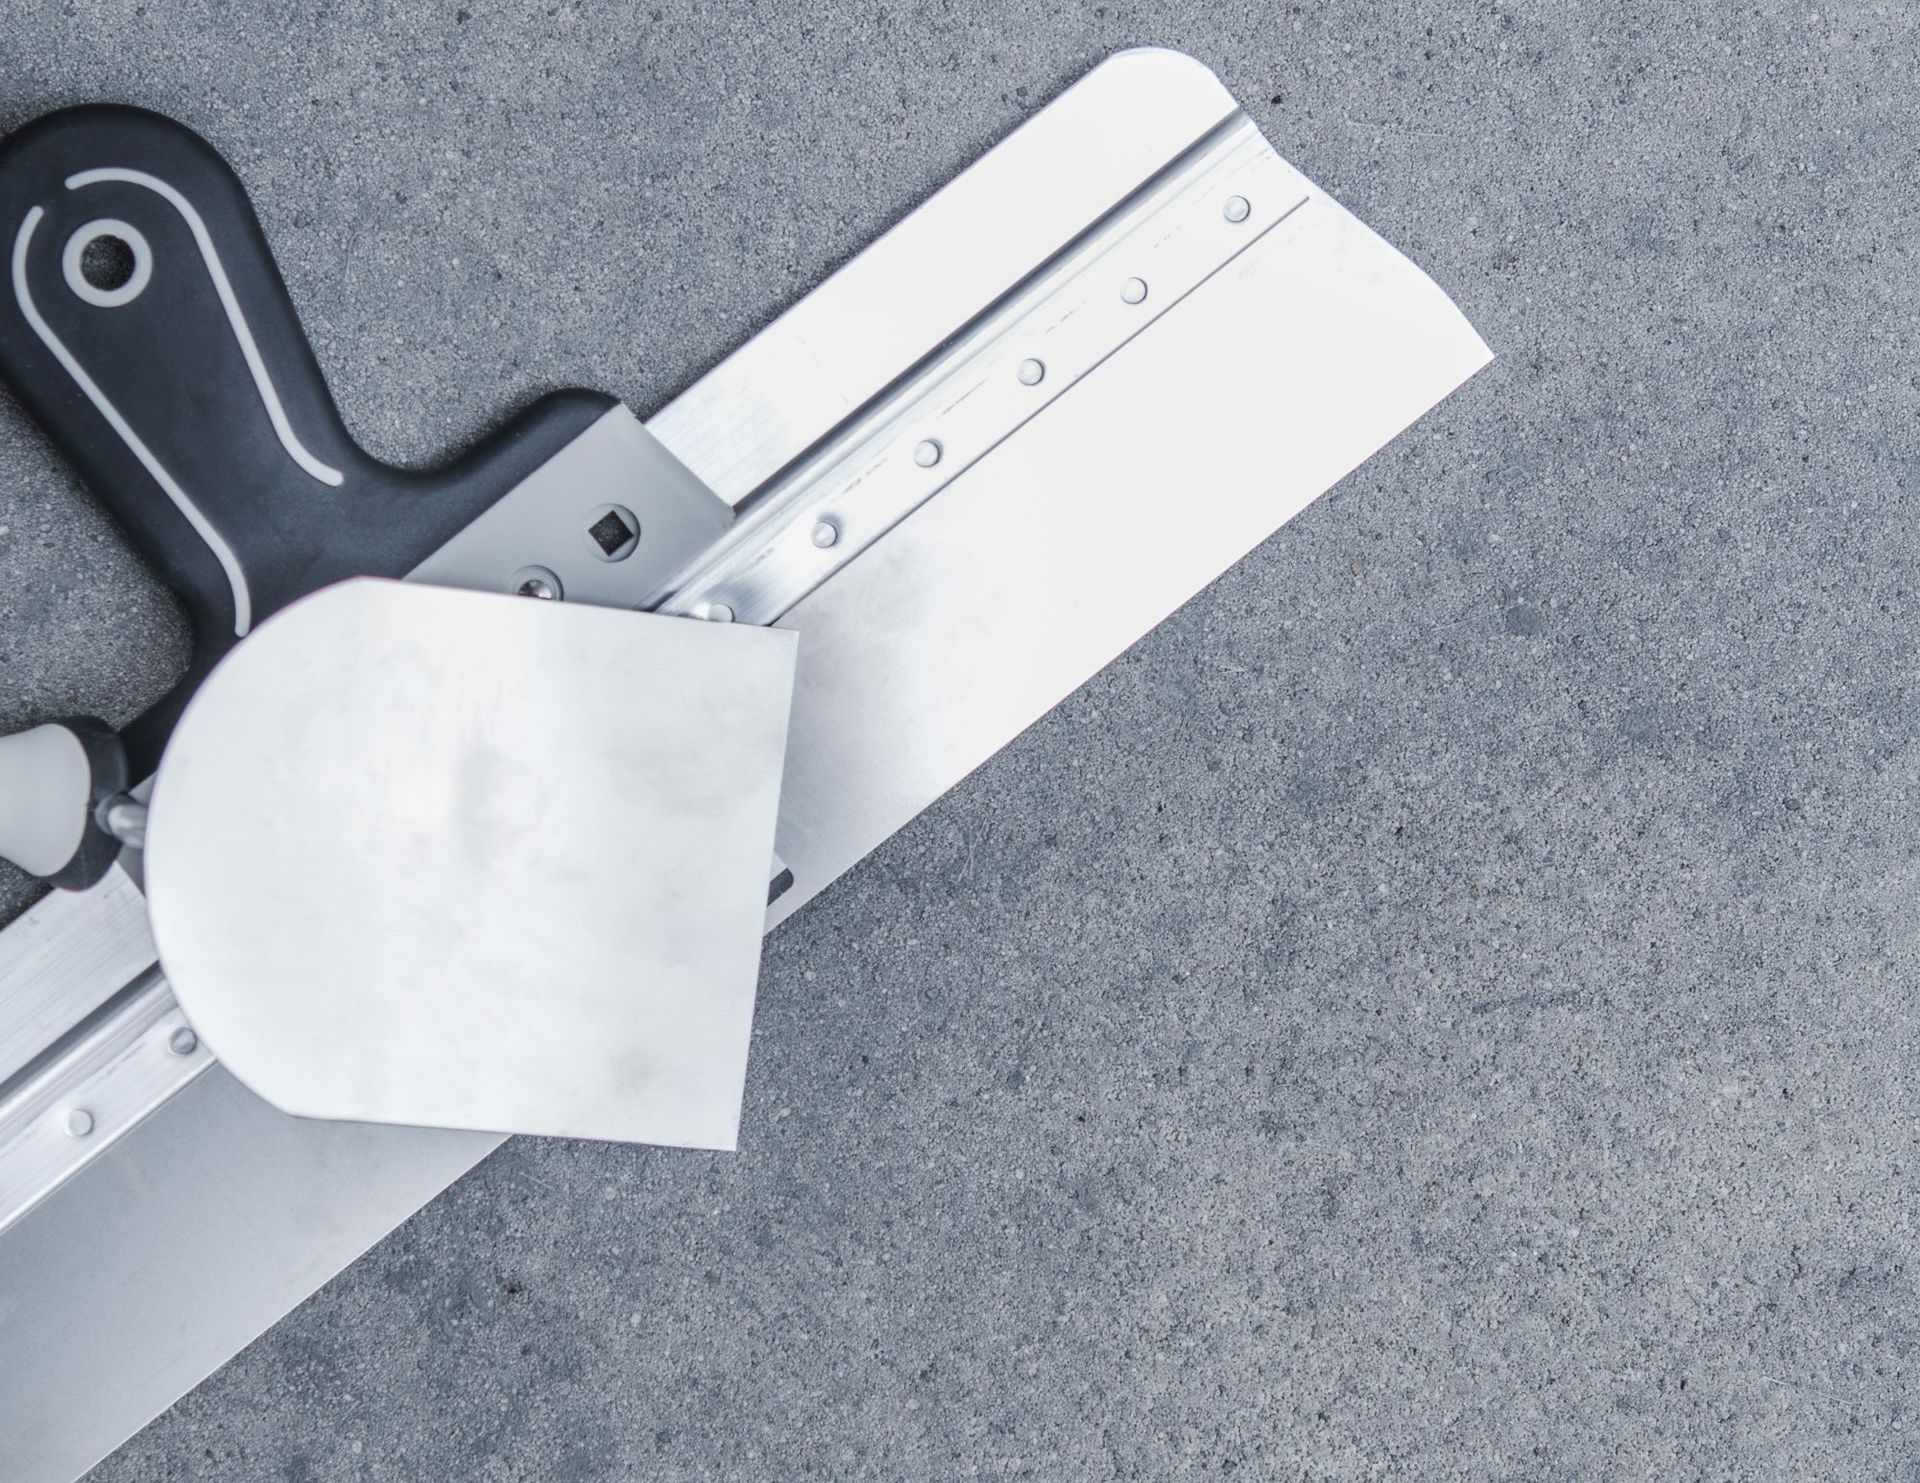
Working with drywall mud is a fundamental skill in the world of construction and home improvement. However, one common question that arises during drywall projects is, "How long does drywall mud take to dry?" Here we talk about this question and hopefully leave you with a satisfactory answer.


Factors Affecting Drywall Mud Drying Time


1. Type of Drywall Compound: There are two primary types of drywall compound: drying-type and setting-type. The type you use will significantly impact drying time.


  -Drying-Type Compound (Pre-Mixed): This type of compound, often referred to as "all-purpose" or "lightweight," typically dries through evaporation. It usually takes between 24 to 48 hours to dry, depending on factors like temperature and humidity.


  -Setting-Type Compound (Powdered): Setting-type compounds, such as "quick-setting" or "hot mud," contain chemical additives that cause them to harden through a chemical reaction with water. These compounds can dry in as little as 20 to 60 minutes, making them ideal for quick drywall repairs.


2. Thickness of Application: The thickness of the drywall mud application plays a significant role in drying time. Thicker layers will naturally take longer to dry than thinner coats. It's essential to follow recommended thickness guidelines for the specific type of compound you're using.


3. Temperature and Humidity: The environment in which you're working also affects drying time. Warmer temperatures and lower humidity levels promote faster drying, while cooler temperatures and higher humidity can slow down the process. Ensure proper ventilation to facilitate drying.


4. Ventilation: Adequate ventilation is essential to help moisture evaporate from the mud. Ensure there is enough airflow in the room to prevent extended drying times.


Drying Times for Different Types of Drywall Mud


1. *Drying-Type Compound (Pre-Mixed)


 First Coat: Typically, the initial coat of drying-type compound takes 24 to 48 hours to dry completely. However, it's essential to allow for longer drying times in humid conditions.


Subsequent Coats: Additional coats applied on top of the first one can dry faster, often within 12 to 24 hours, especially if the room is well-ventilated.


2. Setting-Type Compound (Powdered)


First Coat: Setting-type compounds can dry remarkably quickly, usually within 20 to 60 minutes, depending on the specific product and mixing ratio.


  Subsequent Coats: Subsequent coats can be applied once the previous one has set, and they often dry even faster.


Tips for Speeding Up Drying Time


If you're working on a project with time constraints, there are several strategies you can use to speed up the drying time of drywall mud:


1. Use Setting-Type Compound Opt for setting-type compound when you need a quicker turnaround, as it dries much faster than drying-type compound.


2. Thin Coats: Apply thin, even coats of drywall mud to promote faster drying. Avoid excessive buildup, which can lead to extended drying times and cracking.


3. Use Fans and Dehumidifiers: Fans and dehumidifiers can help improve airflow and reduce humidity levels in the room, expediting the drying process.


4. Warmth: If possible, maintain a comfortable room temperature, as warmer environments facilitate faster drying.


The drying time of drywall mud depends on various factors, including the type of compound used, thickness of application, temperature, humidity, and ventilation. Our Ottawa drywall contractors understand these factors and select the right type of compound for your project can help you plan your work effectively and achieve the desired results.


Whether you're tackling a small repair or a larger drywall installation, patience is key. Rushing the drying process can lead to subpar results and potential issues down the line. By following recommended drying times and taking environmental conditions into account, you can ensure that your drywall mud dries properly, leaving you with a smooth and professional finish.

You might also like
05 Dec, 2023
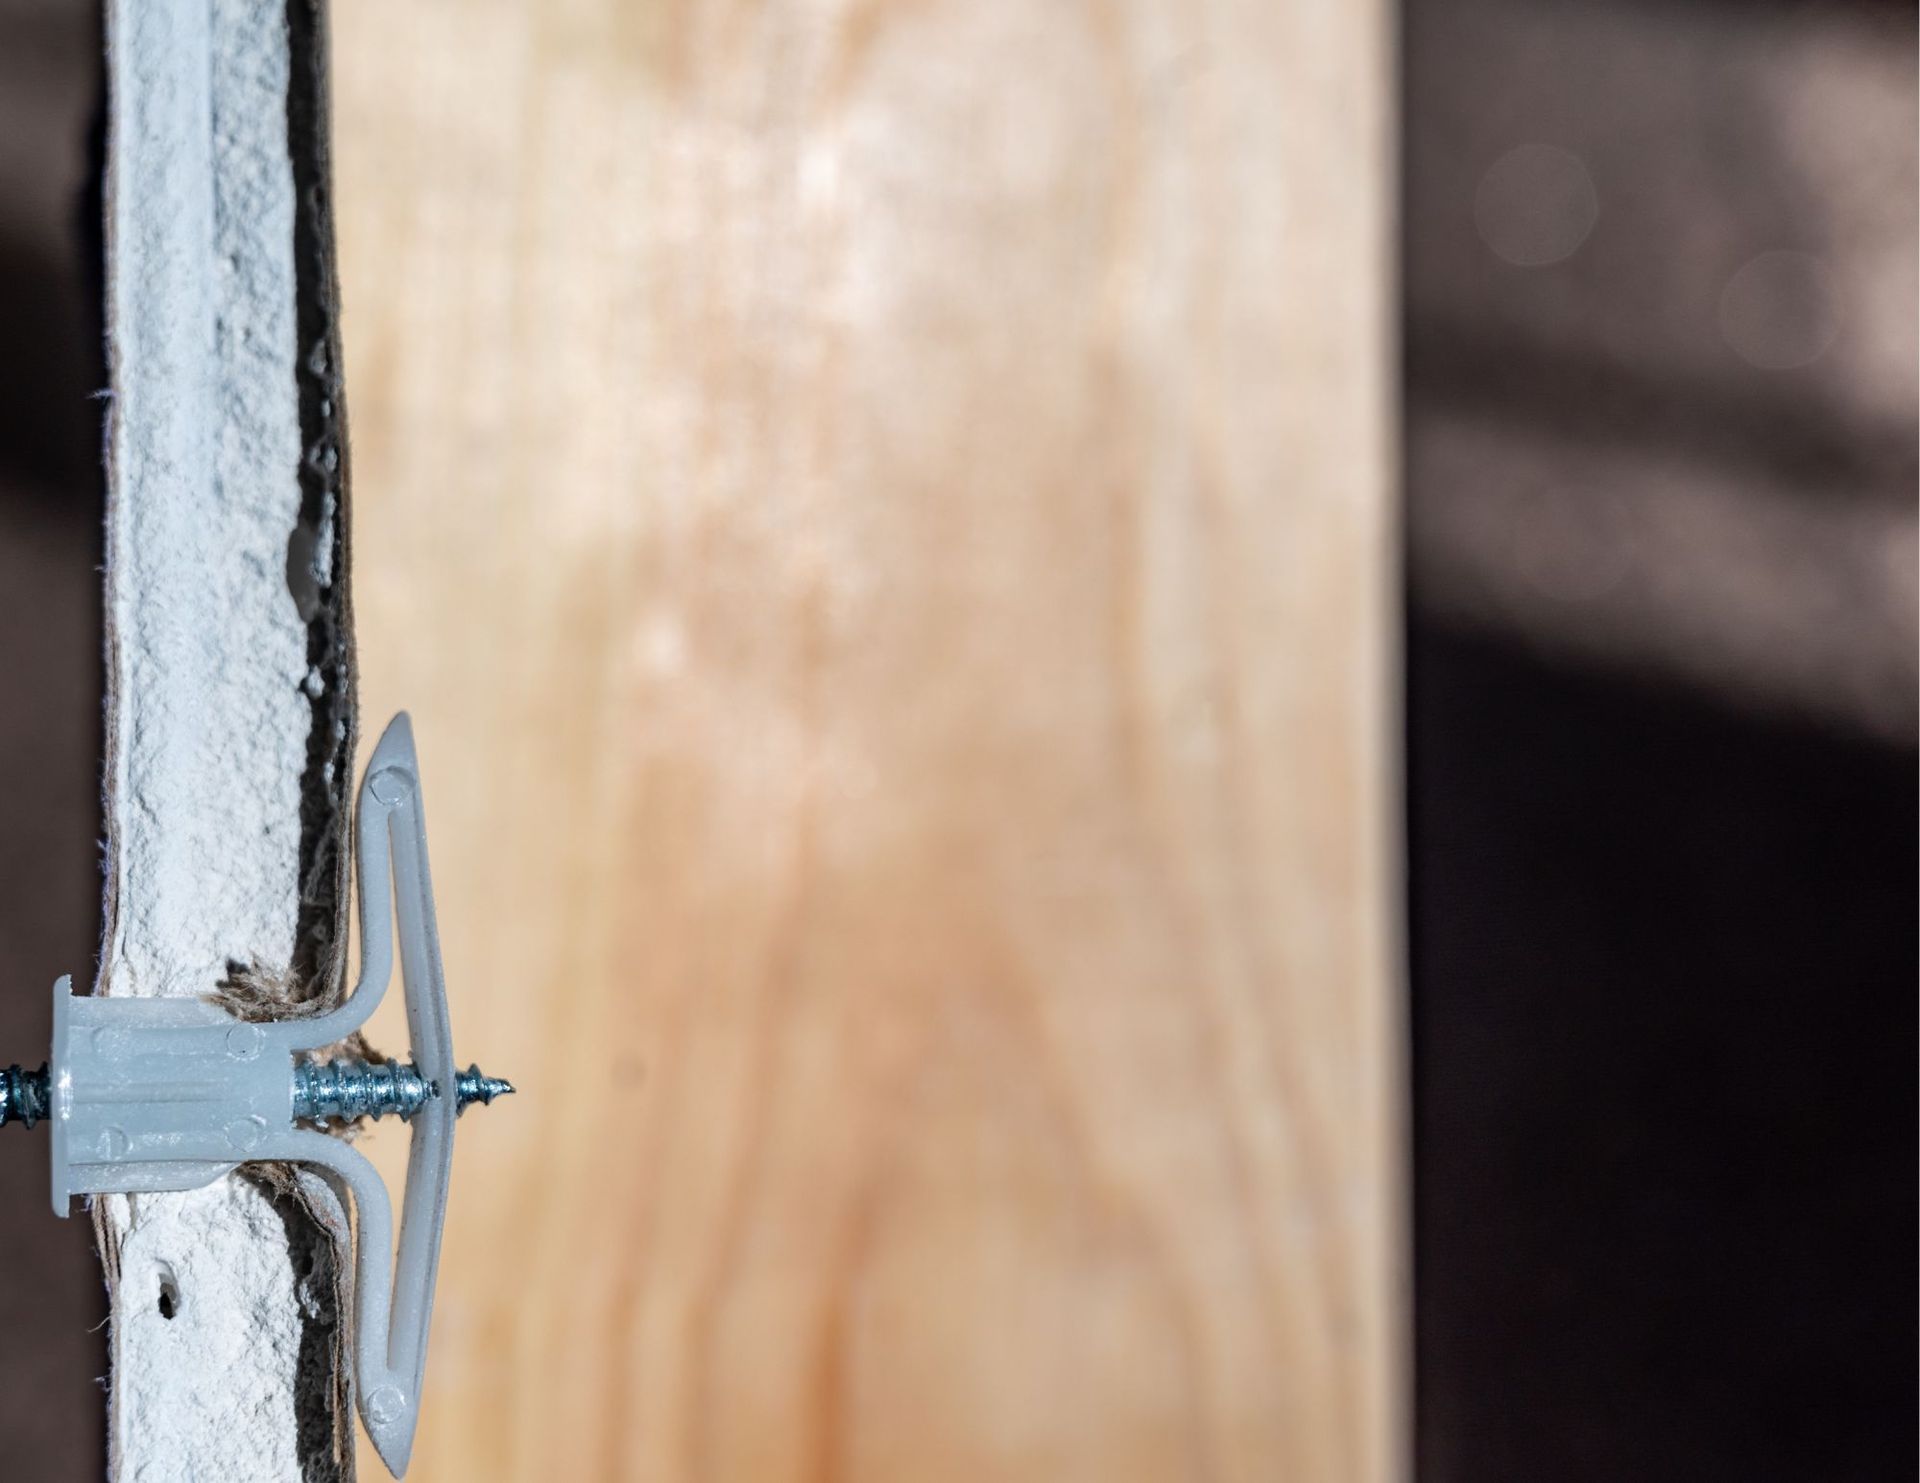
Drywall anchors, while essential for securely mounting objects, can become a nuisance when they need removal. Whether you're redesigning your space or altering wall fixtures, understanding how to remove drywall anchors efficiently without causing damage is crucial. In this comprehensive guide, we'll delve into several tried-and-tested methods to help you successfully remove drywall anchors with ease.  Gather the Necessary Tools Before you begin, assemble the following tools: Pliers: Needle-nose or regular pliers will be useful for most removal methods. Screwdriver or Drill: Depending on the type of anchor, you may need a screwdriver or drill. Utility Knife: Helpful for cutting and exposing certain types of anchors. Putty Knife: Used to patch holes after anchor removal. Different Methods for Removing Drywall Anchors 1. Screw Removal Method: For Plastic Ribbed Anchors: Loosen the Screw: If the anchor has a visible screw head, use a screwdriver to unscrew it until it's flush with the anchor. Grip and Pull: Using pliers, grip the screw head and gently pull it out. The anchor should slide out with the screw. For Winged Plastic Anchors: Remove the Screw: Unscrew the fastener until it's flush with the wall. Pull Out the Anchor: Use pliers to grip and carefully wiggle the wings of the anchor while pulling outward. Apply gradual pressure to avoid damaging the drywall. 2. Toggle Bolt Removal: Unscrewing Method: Toggle bolts often have a screw visible on the front. Unscrew it completely until the toggle falls behind the wall. Then, remove the bolt and pull the toggle out gently using pliers. 3. Push or Hammer-In Anchors: Prying Method: Use a putty knife or flathead screwdriver to gently pry the anchor away from the wall. Apply steady pressure to prevent damage. 4. Expansion Anchors: Drilling Method: If the anchor doesn’t have a visible screw, carefully drill into the center of the anchor using a drill with a bit slightly smaller than the anchor size. Drill until the head breaks off, allowing the anchor to fall into the wall cavity. Tips for Removing Drywall Anchors Safely Apply Gradual Pressure: Avoid using excessive force as it might damage the drywall. Repair Holes: After removing the anchor, patch the hole with spackling compound using a putty knife and sand it down for a smooth finish. Identify Anchor Type: Different types of anchors require different removal methods. Assess the anchor type before attempting removal. Protective Gear: Use safety goggles to protect your eyes from debris during the removal process. Situational Considerations Large Anchor Removal: For larger or stubborn anchors, consider using a crowbar or claw hammer to gently pry them out. Exercise caution to avoid damaging the wall. Multiple Anchors in Close Proximity: If you're dealing with several anchors close together, take care to avoid damaging the surrounding drywall while removing them. Conclusion Removing drywall anchors doesn’t have to be a daunting task. By employing the appropriate tools and techniques, you can effectively remove anchors without causing unnecessary damage to your walls. Understanding the type of anchor you're dealing with and utilizing the suitable removal method are key to successful extraction. Remember to work patiently and gradually, applying just enough force to remove the anchor without harming the drywall. Once the anchors are removed, patching the holes properly ensures a seamless finish, ready for a fresh coat of paint or new wall fixtures. By following these step-by-step removal methods and considering the situational tips provided, you can confidently tackle the task of removing drywall anchors, allowing you to modify or redesign your space hassle-free. If you're looking for an expert Ottawa drywall contractor, give us a call today for a free quote.
05 Dec, 2023
This is a subtitle for your new post
05 Dec, 2023
Looking to do your own drywall work? Here's how to cut drywall properly
More Posts

Book a Service Today

Share by: